Create and Edit Announcements in ulearn
Instructors should create announcements to post to ulearn to disseminate important course information to your students. Announcements are on the ulearn landing page and are also emailed to student’s JWU email. It’s a good practice to send announcements periodically during the semester.
Table of Contents
Video Userguide
Video not loading? Watch on Youtube.
Instructions
Creating an Announcement
- Click the Announcements link located on the ulearn left menu.
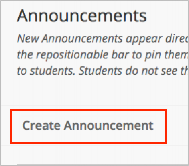
- Click the Create Announcement button.
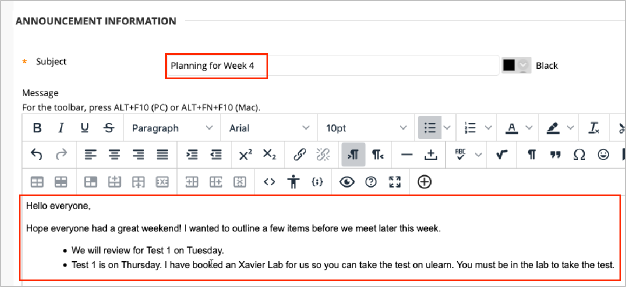
- On the Create Announcement page, enter a Subject and Message.
- Under Web Announcement Options, select either Not Date Restricted or Date Restricted. A “Not Date Restricted” announcement will always be visible on the student’s Announcements page. If you select Date Restricted, select specific dates for which the announcement will be displayed to the student.
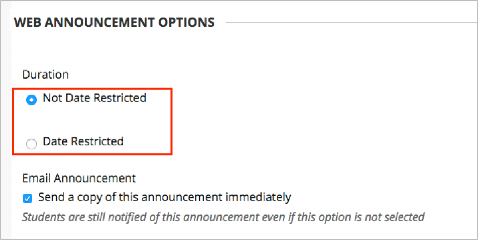
- Select Email Announcement if you wish to send the announcement immediately via JWU Email to each student enrolled in the course. An email will be sent regardless if this box is checked, however. This option won’t work if you have “date restricted” selected. It only works if “not date restricted” is selected.
- Note: If a student replies to the announcement email, the message will arrive in your JWU email inbox. No email archives are saved within ulearn.
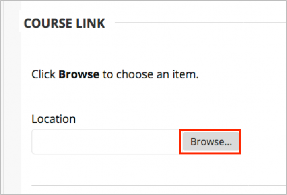
- (Optional) If you want the announcement to link to a specific content item within the course, click Browse under the Course Link heading to browse to the item location. If not, disregard and process to Step 7.
- Click Submit. Your announcement now appears on the Announcements page.

- Note: If you set the Display After date/time for the future, you will see a notification that the item is not available until after the Display After date/time passes.
Editing an Announcement
- If you need to edit an announcement or its settings, make sure the Edit Mode is ON and click the down arrow icon next to the announcement title and select Edit from the menu.
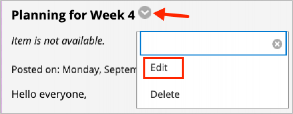
- Make the necessary changes and then click Submit to save changes.
