Kaltura Media Stitching
The Kaltura Media Stitching feature allows you to stitch together (combine) multiple videos to create a new, original video.
Instructions
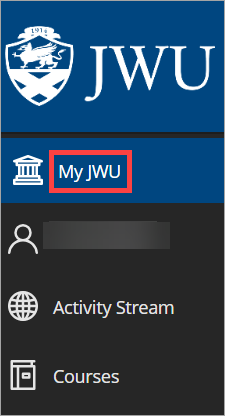
- Select My JWU from the menu on the ulearn homepage.
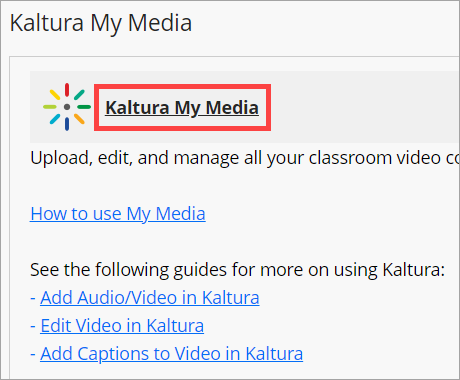
- Scroll down and click the Kaltura My Media.
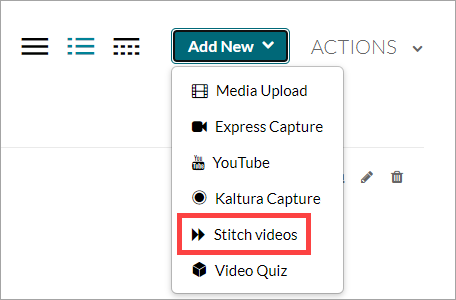
- From the Add New menu, select Stitch videos.
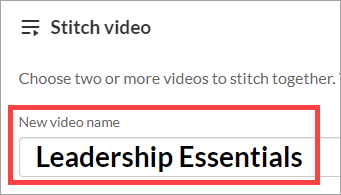
- Add the New video name at the top of the page.
- In the Choose media to stitch section on the left, select the media you want to stitch together by clicking the plus sign (+) to the right of each chosen media entry.
Note: You must select at least two pieces of media but no more than five to use the stitching feature. The maximum duration of a stitched video is five hours.
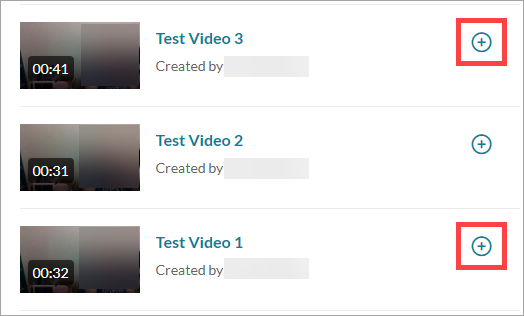
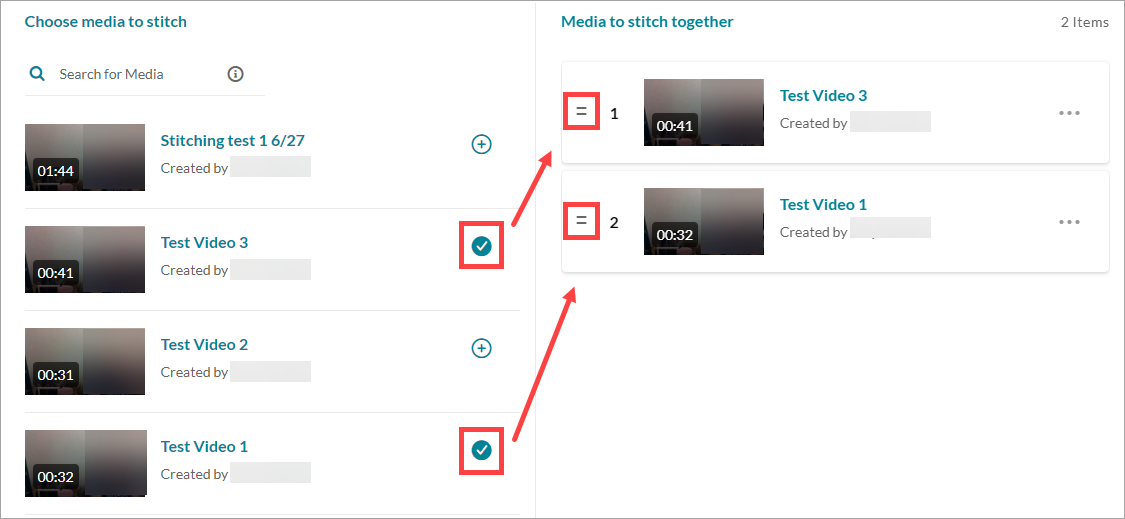
- The chosen media is checked off and moved to the Media to stitch together section on the right. If you decide not to use a piece of media, click the checkmark in the Choose media to stitch section to remove it.
To reorder media in the Media to stitch together section, click and hold the two lines to the left of the piece of media and drag it up or down to the desired location.
Note: You can also click the three dots next to a piece of media to open a menu that allows you to move it to the top, bottom, or remove it altogether.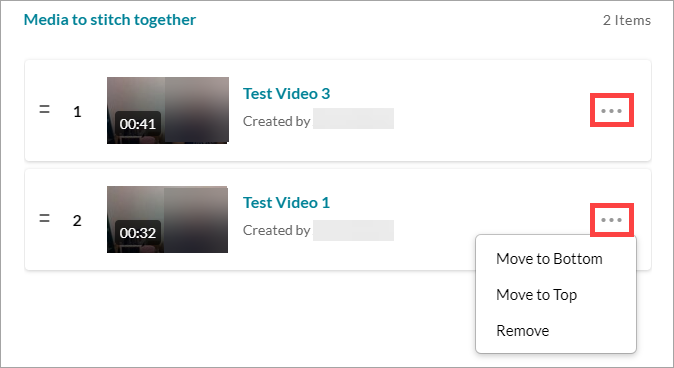
- When all chosen media is added, click Create in the top right corner of the page.

- On the Edit entry page, you will see a Media Processing notice while the stitched video is created. From this page you can rename, add a description, tag, or edit your video. Click Save to confirm any changes.
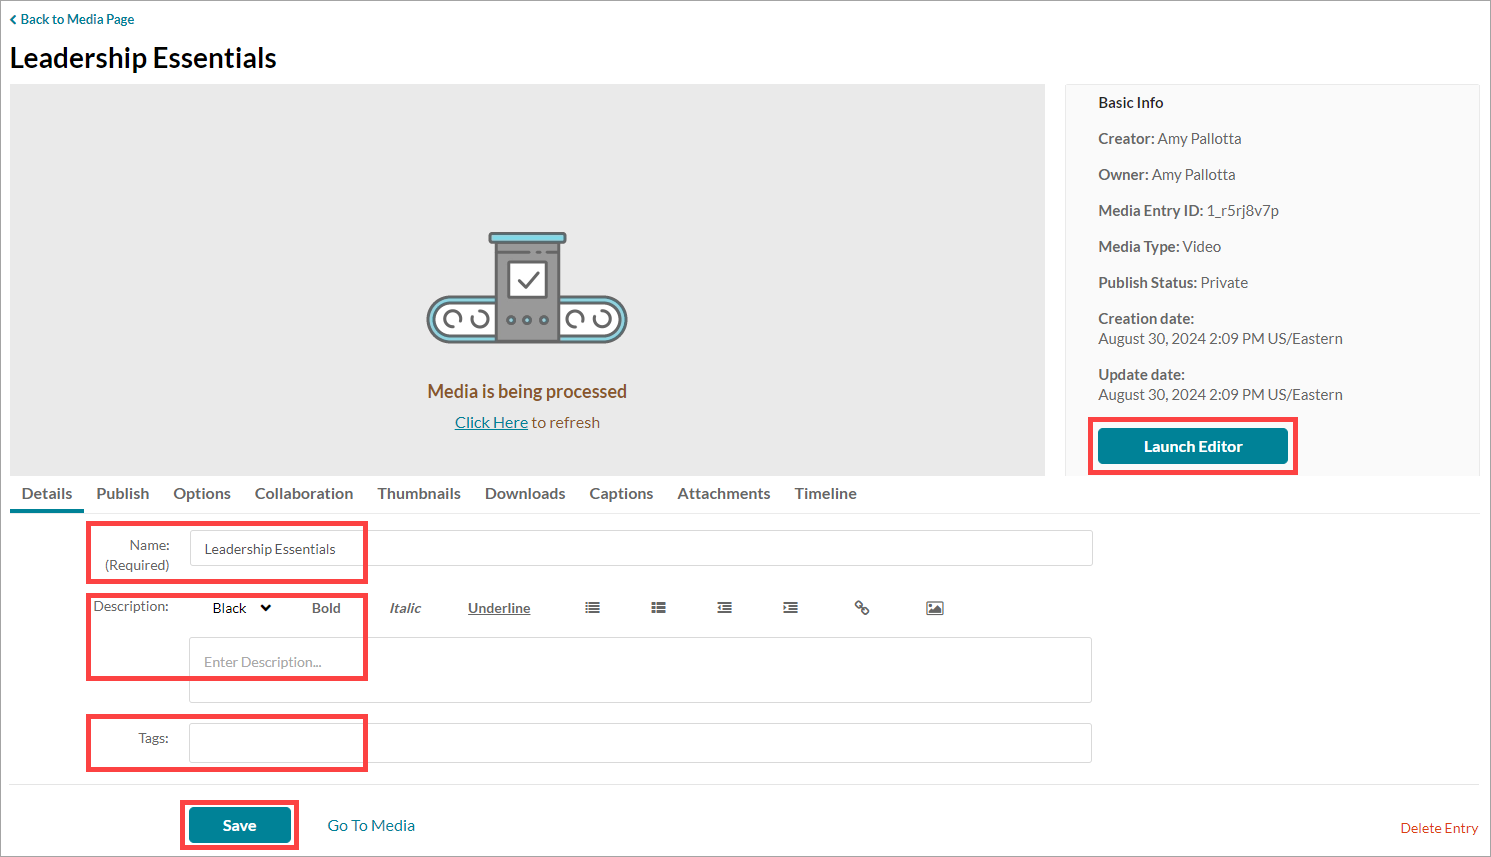
Note: You can click Save and navigate away from the page while the media is still processing. Once it is finished, you will be able to play it.
- Add the video to any content area or announcement in your course. The completed stitched video will have visible timeline breaks at the bottom of the player to differentiate between the different pieces of media.
