Kaltura Capture
Kaltura Capture allows you to record your webcam, computer screen, and/or microphone to create videos, screencasts, and audio files. When recording a screencast, you can utilize drawing and text tools to annotate the screen. Once the media file is ready, you can easily upload it to ulearn.
Table of Contents
- Download Kaltura (required before first use)
- Record in Kaltura
- Annotate While Recording (optional)
- Publish Your Recording
- Edit Your Captions
- Add Recording to Announcement or Content Item
Instructions
Download Kaltura
- In a content area, click the down arrow for Add Collaboration Tool and select Kaltura Media.
Skip to the Record in Kaltura section below if you have previously downloaded Kaltura.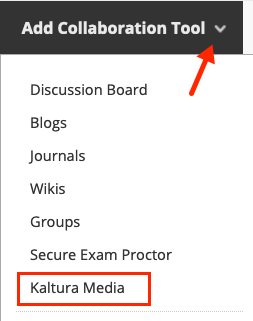
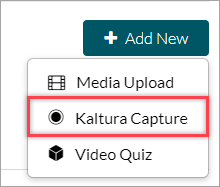
- Click the Add New icon, found in the upper right corner, and select Kaltura Capture.
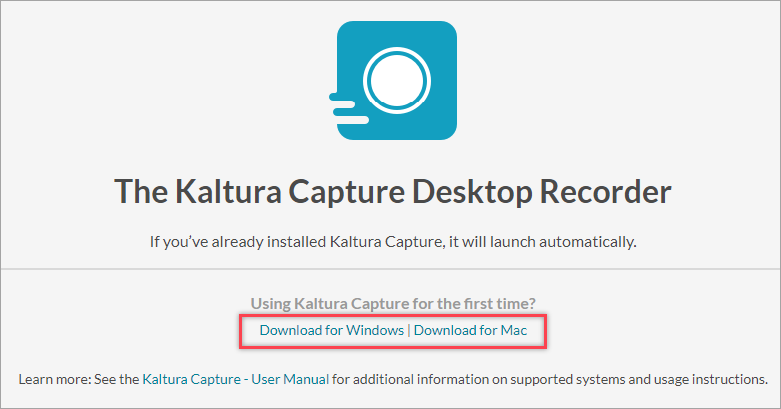
- Choose either Download for Windows or Download for Mac based on the computer you are using.
- Open the Kaltura Capture download file. Install the software by following the directions in the Kaltura Capture Setup Wizard.
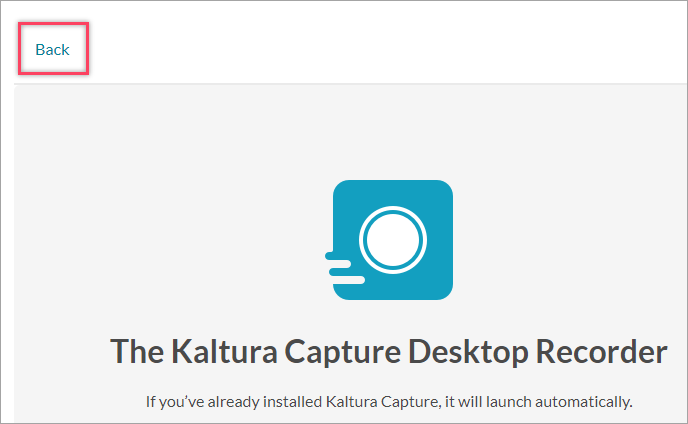
- In your ulearn course, click Back in the upper left corner to return to the Add New screen.
Record in Kaltura
- Open Kaltura Capture on your computer. You may have to wait a few seconds for it to open.
- Click New Recording in the upper right corner.

- The Kaltura Capture toolbar pops up on your screen.

- Kaltura allows you to record your webcam, the screen, and audio. Choose what to record by clicking to turn items on or off. A blue icon means the item is on. A gray diagonal line through an item means it is off.
Camera records you through your webcam. Check the preview window to make sure you can be seen clearly.
Screen records whatever is shown on your computer screen, such as a slide show or a Google search.
If you are using multiple screens, adjust the Screen options by clicking the up arrow next to the item. You can also choose to record only a certain part of the screen.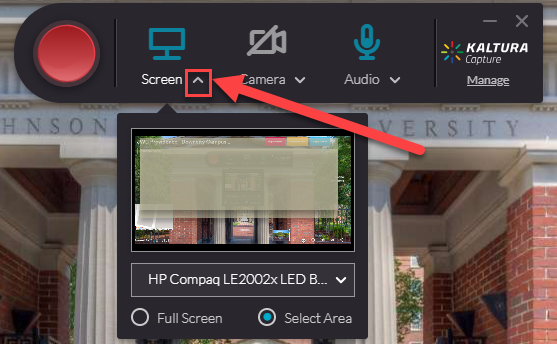
Audio records your speaking voice. This must be turned on to have sound in your video.
Note: If you are using a headset, audio will record your voice only, not the computer sound. If you are not using a headset, audio will record all sound in the room. - To begin recording, click the red record button. Kaltura will show a 3-second countdown and begin recording when it ends.

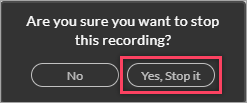
- When you are finished recording, click the stop button.

- Confirm you want to stop recording by selecting Yes, Stop it.
- Edit the Title of the recording, if needed. Click Save & Upload.

Annotate While Recording
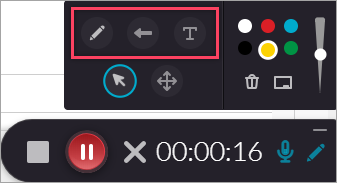
- To make annotations while recording your screen, click the pencil icon on the right side of the recording toolbar.

- Use the annotation tools to draw freehand, insert an arrow, or type text in a text box. You can change the color of an annotation as well as adjust its thickness.
Publish Your Recording
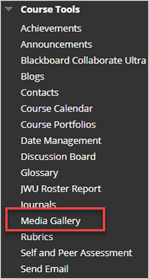
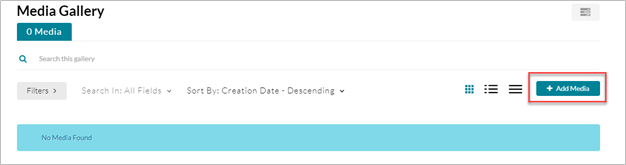
- Kaltura stores all videos you make in the Media Gallery. To publish or use your video, return to ulearn. In the Course Tools section on the left menu select Media Gallery.
- Click Add Media.
Note: There may be a short delay before your recording is visible in the Kaltura Media Gallery. - Select the check box to the left of the video you would like to use. Then click Publish.
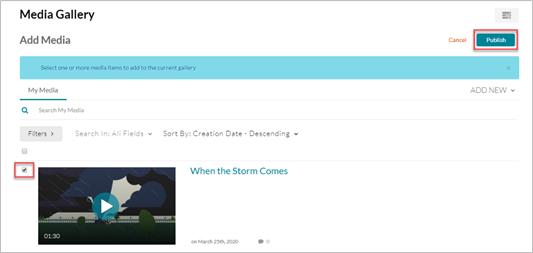
Note: After publishing, you may need to refresh the page to see the video in the Media Gallery.
Edit Your Captions
- Kaltura automatically adds machine generated closed captions to all uploaded videos, but they are not always accurate. Edit the captions for any video you are using.
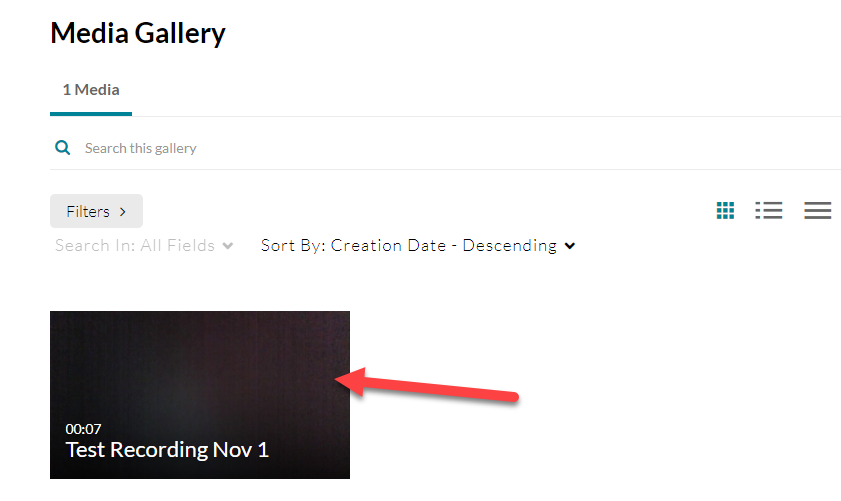
Note: The auto-caption process depends on the length of the video and can take up to two hours to complete. - Once you publish your video using the Publish Your Recording directions above, locate your video in the Media Gallery. You may need to refresh your page if it does not appear.
- Click the thumbnail image of your recording.
- Scroll down to the Actions drop down menu. Click the arrow and choose Caption & Enrich.
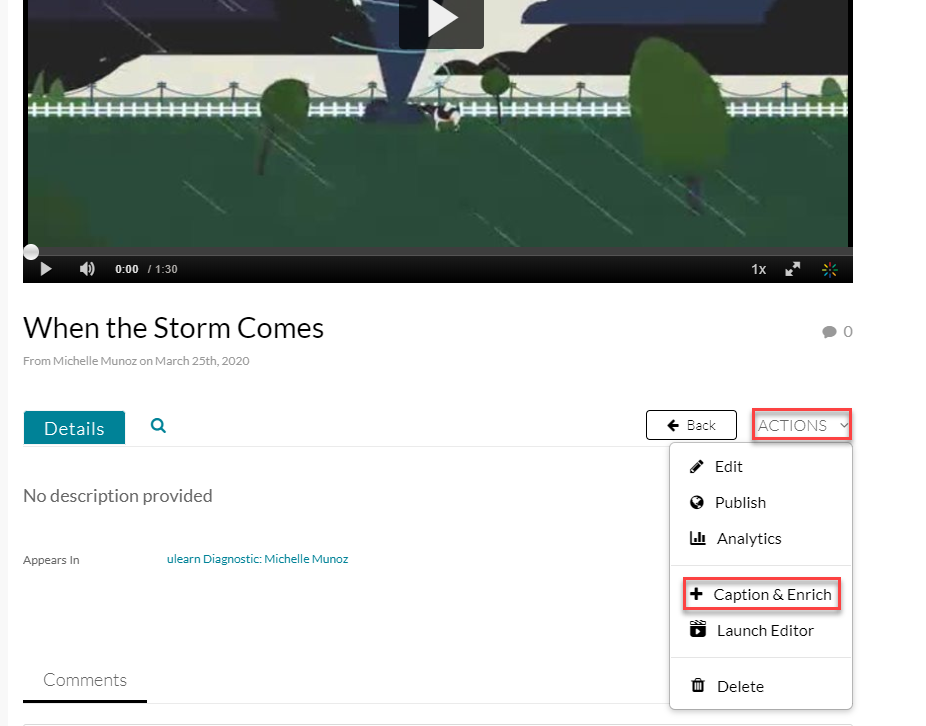
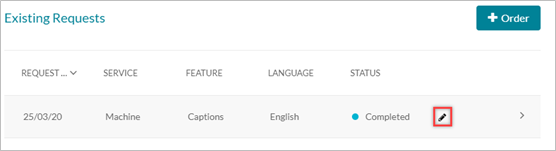
- The Existing Requests panel is visible. If the caption status is Completed, the captions can be edited. If the status is Pending or Processing, the captions aren’t ready yet.
- When the captions are ready, click the pencil icon to edit the captions.
- Read through the list of captions for your recording. Make corrections by clicking on the error and typing new text in its place. When finished, click Save in the upper right corner.
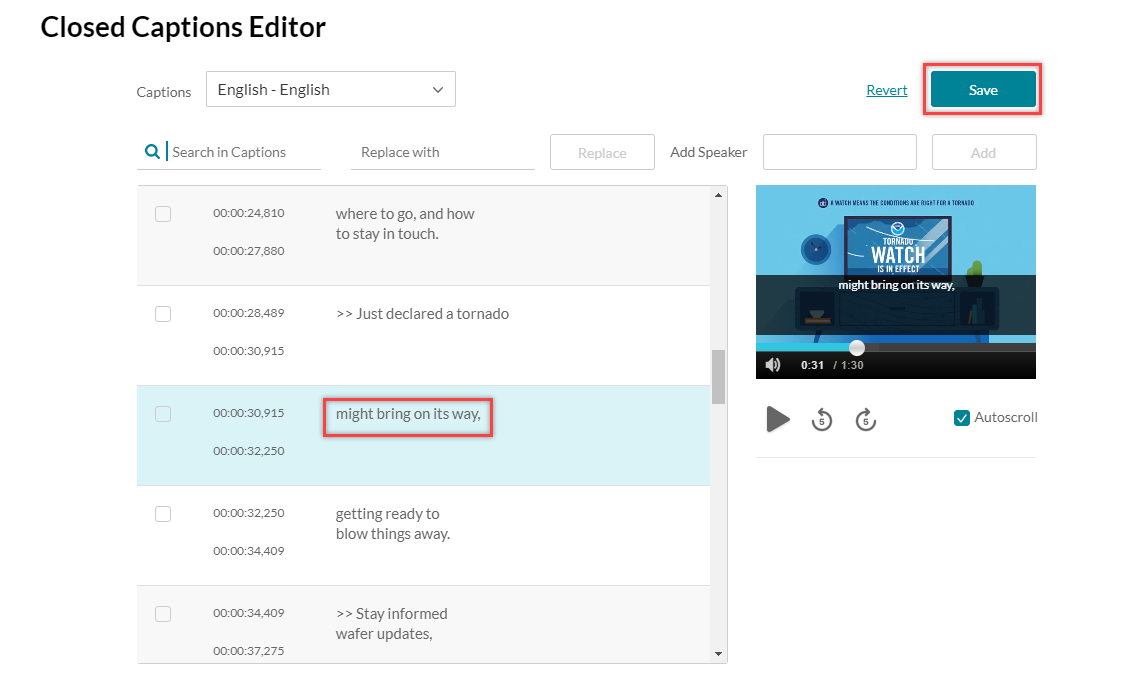
After saving the caption changes will be automatically applied anywhere the video is used, even if it has already been posted in your course.
Add Recording to ulearn Announcement or Content Item
- You can add a Kaltura video from any text editor in ulearn. Click the Add Content button on your toolbar.
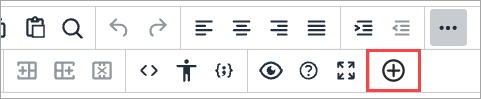
Note: If you don’t see the Add Content button (plus sign), click the More button to open the advanced text editor.
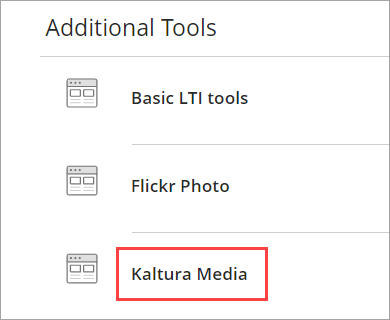
- Select Kaltura Media from the list of additional tools.
- Click Select to the right of the title of the recording you would like to add.

- When finished adding the video and any accompanying text, click Submit to save your work.