Create an Assignment
Assignments allow you to assess students’ understanding of course concepts. Review how to create an assignment and adjust the settings.
Instructions
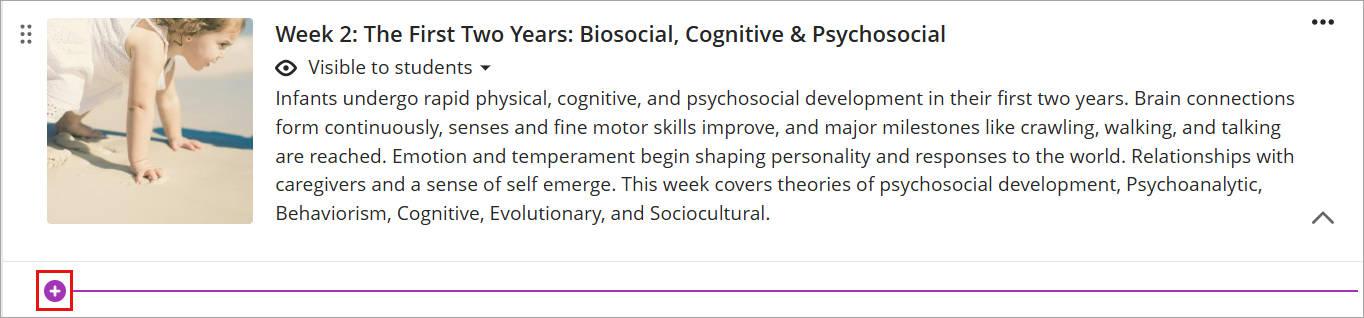
- Navigate to a learning module, click on the module to expand its contents, and hover over the future assignment location. Click the plus icon (+) that appears.
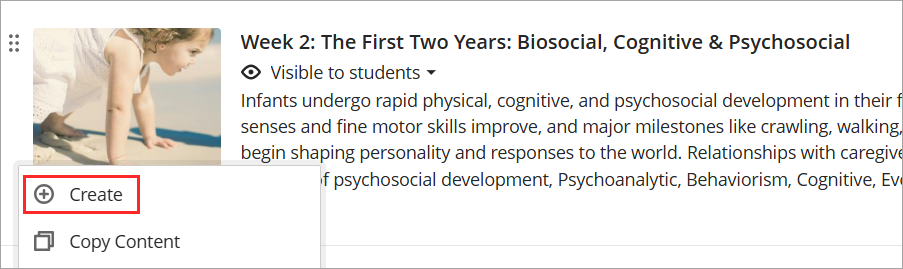
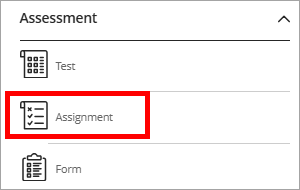
- Select Create, and then choose Assignment from the list of assessment types.
- Add an appropriate assignment title by clicking the pencil icon at the top of the page.

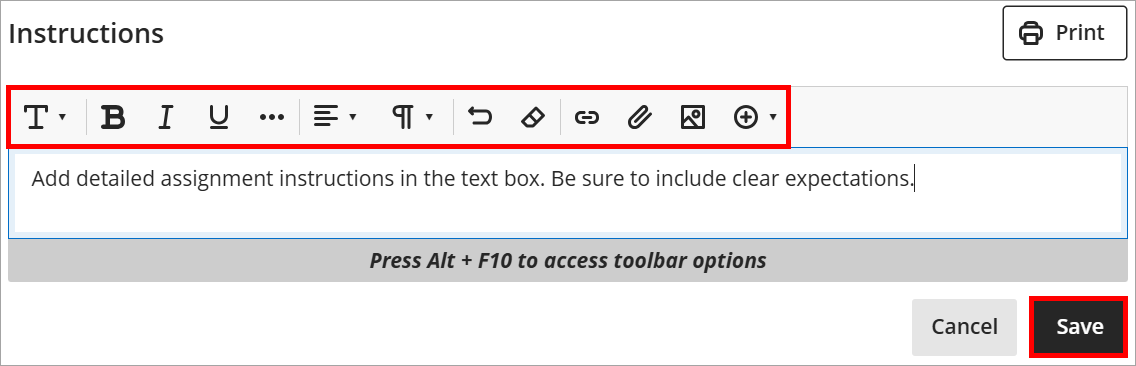
- To share assignment instructions, click the text box under Instructions and use the editor tools as needed. Click Save.
- To adjust the assignment settings, click the gear icon in the top right corner.

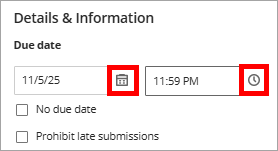
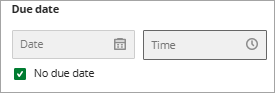
- In the Details & Information section, click the calendar and clock icons to set or change the assignment’s due date and time. If no due date is needed, select No due date. You can also choose from additional settings to customize how the assignment behaves for students.
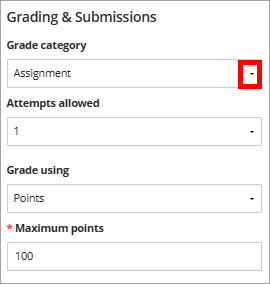
- Under Grading & Submissions, click on the dropdown menu to choose the grade category, set the number of attempts, select the grading unit, and enter the maximum points.
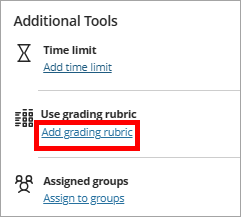
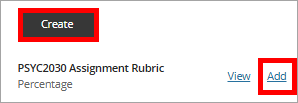
- To add a rubric scroll down to Additional Tools and click Add grading rubric. Choose an existing rubric or create a new one. For more information see Creating Rubrics.
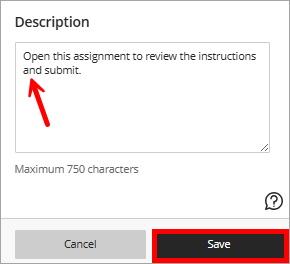
- Add an assignment description by clicking the text box under Description. Provide clear, descriptive language for students to preview before they begin their assignment attempt. Once the assignment settings are complete, click Save.
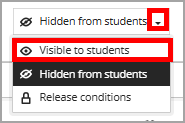
- To make the assignment visible, scroll to the top right and click the Hidden from students dropdown. Then select Visible to students to publish the assignment.
IDT Tips for Assignments
- Use consistent naming conventions such as Week 3 Assignment: Case Study Analysis.
- Write clear, concise instructions.
- Specify submission format, file types, length, and required components.