Discussions
Discussions give students a space to engage with course topics. Instructors can create graded or ungraded discussions, require students to post before viewing others’ responses, and attach rubrics to ensure grading is consistent and transparent.
Table of Contents
Instructions
Create a Discussion
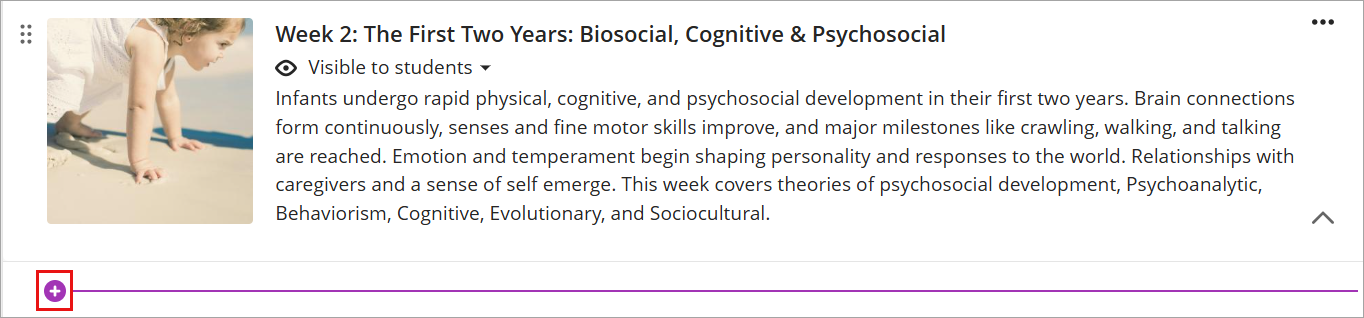
- Click the plus icon (+) at the location to add the Discussion.
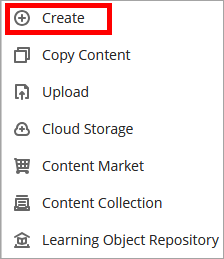
- From the menu, select Create to open the Create Item panel.
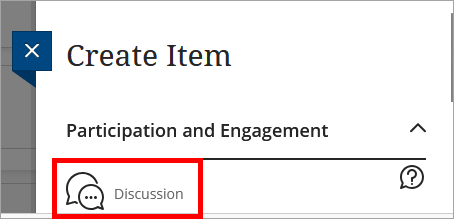
- On the right menu, under Create Item, select Discussion from the Participation and Engagement menu.
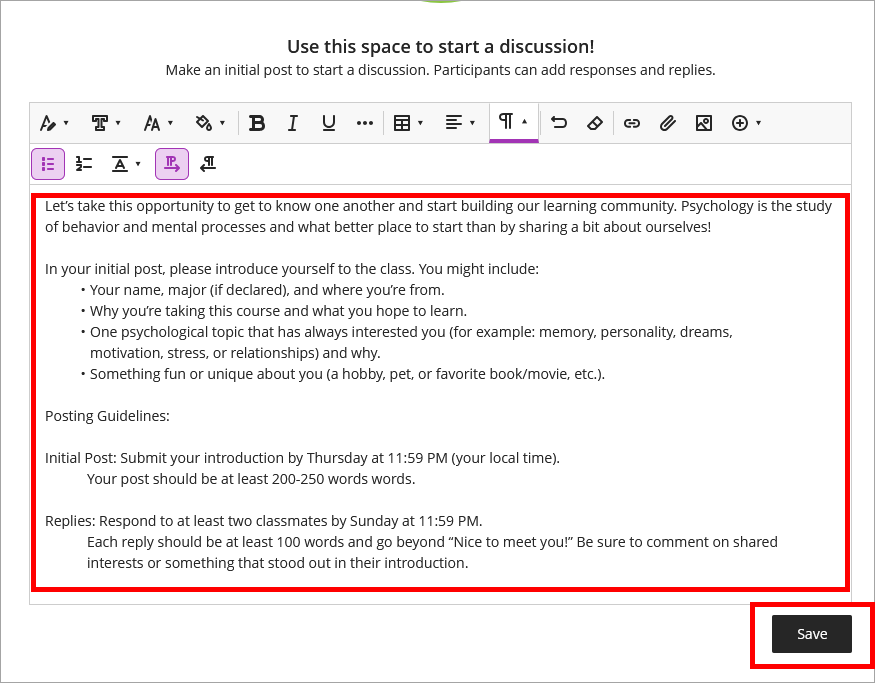
- Enter an appropriate title for the Discussion.

- Enter Discussion instructions. When you are finished, click Save.
Discussion Settings
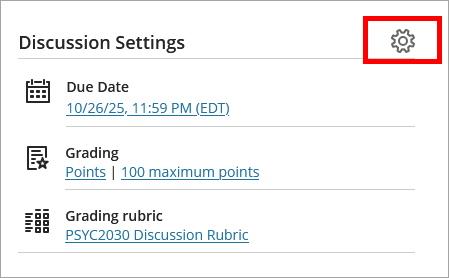
- To make the discussion a graded item, click the gear icon to the right of Discussion Settings to open the settings menu.
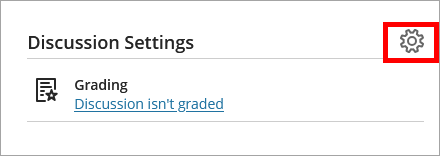
- Select the appropriate Discussion Settings.
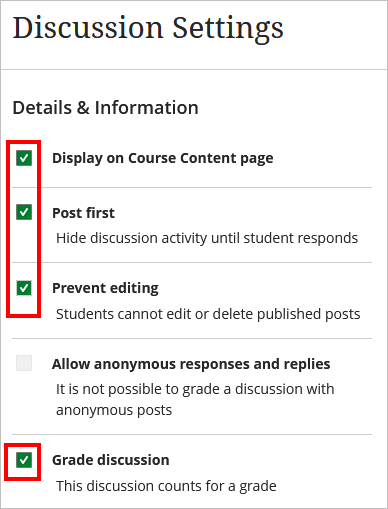
Display on Course Content page: Shows the discussion directly on the Course Content page, making it easy for students to access without navigating additional menus (keep this checked).
Post first: Requires students to make their own initial post before viewing or replying to classmates’ posts, encouraging independent thought and originality.
Prevent editing: Stops students from changing their posts after submission, preserving the integrity of their original responses.
Grade discussion: Check the box to enable grading. This automatically creates a corresponding column in the Gradebook, allowing instructors to enter scores and provide feedback.
Grading and Participation
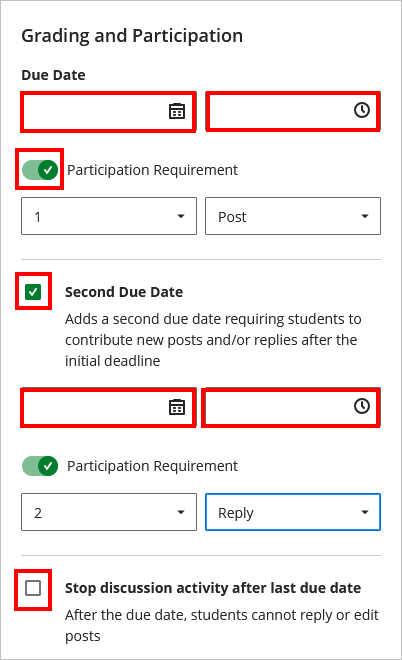
- Scroll down to the Grading and Participation section. Add a due date, set a participation requirement, and enable a second due date for peer replies if applicable.
- Due Date (initial post): Click the calendar icon to select a due date and click the clock icon to select a submission time. Students see the due date on their course calendar and activity stream.
- Participation Requirement: Enable this option and select the number of posts and/or replies students must complete to meet the participation expectation. Require an initial post here, due on Thursday, at 11:59 PM, for example.
- Second Due Date: Enable this option to create a separate deadline for peer replies. This allows one due date for the initial post and a later due date for responses to classmates (peer replies are due Sunday, at 11:59 PM for example).
- Due Date: Click the calendar icon to select a due date and click the clock icon to select a submission time. Students see the due date on their course calendar and activity stream.
- Participation Requirement: Define the minimum number of contributions required. Students must meet this threshold to receive full participation credit.
- Stop Discussion After Due Date: Select this option to prevent students from adding posts or replies after the due date has passed. Instructors are still able to view and grade submissions.
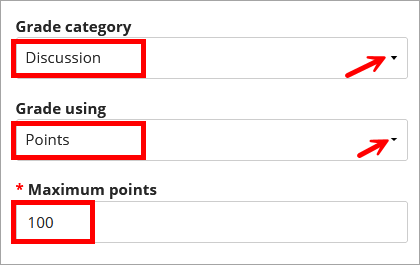
- Set the grading options for the discussion including the Grade category, Grade using (points most common), and enter the Maximum points(e.g., 100 or another value) for the discussion.
- Scroll down to the Additional Tools section.
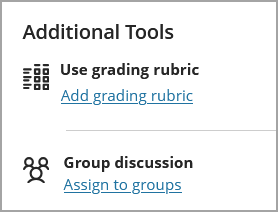
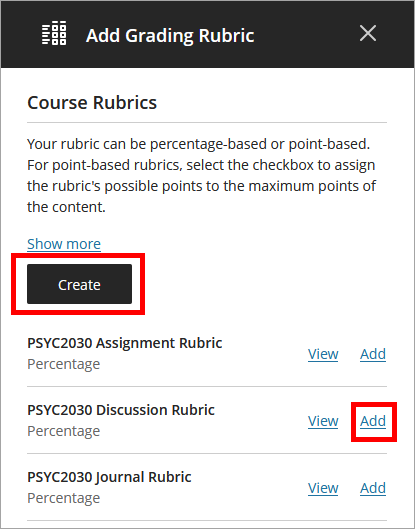
- If using a rubric to grade, click Add grading rubric and click the option to either Create a new rubric or Add a previously created rubric.
- If using groups, you can assign discussions to groups.
- Click Save.
Edit a Discussion
- To edit a discussion, click the discussion from the content area.
- To edit the title, select the pencil icon next to the title. To edit the instructions, click the pencil icon next to the Discussion Topic.

- Click Save.
- To edit the Discussion settings, click the gear icon in the upper right corner.
- Make necessary edits, then hit Save.
IDT Tips for Creating Discussions
- Craft a question that aligns with your learning objectives and encourages students to think critically and make solid course connections.
- Provide clear expectations.
- Review each discussion in Student Preview.