Learning Module
Use Learning modules to organize your course content in structured containers. Add content such as documents, links, assignments, discussion boards, and more.
Instructions
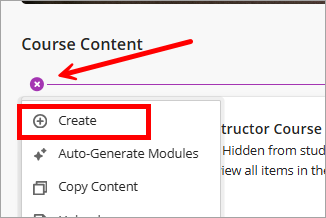
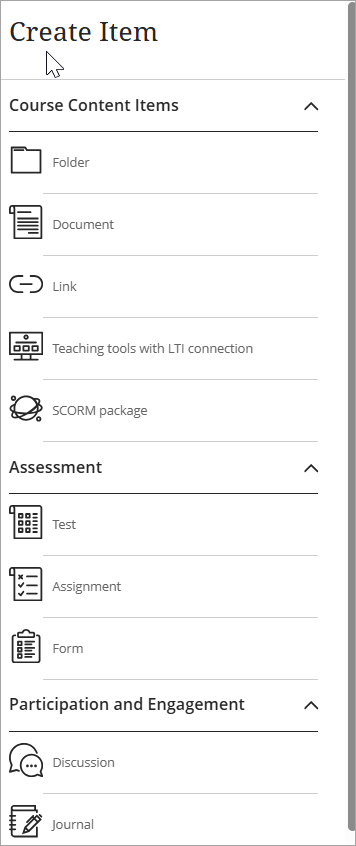
- From the top of the course homepage, click the plus icon (+) and select Create.
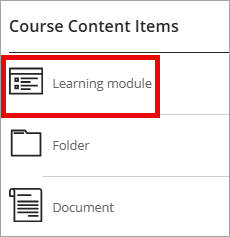
- Select Learning module from the Course Content Items menu.
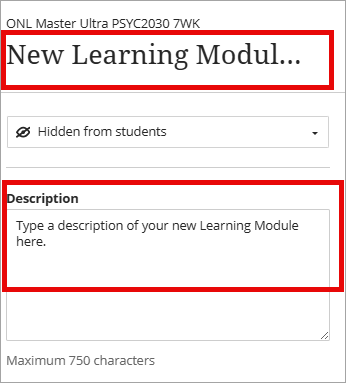
- Add an appropriate title and description in the text box for the new learning module.
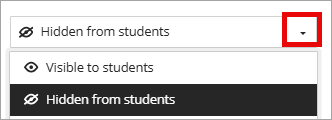
- Click the drop-down menu arrow to edit the visibility settings for students.
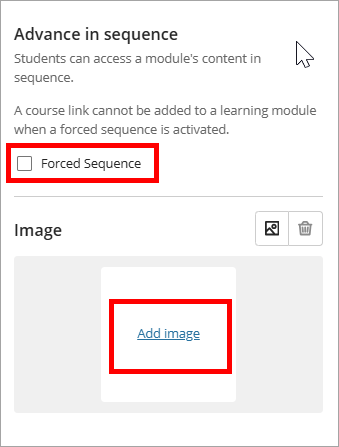
- Optional Settings: Check the box next to Forced Sequence to require that students review the content in order. You can also add an image to the module.
- Click Save.
- To expand a Learning module, click the chevron on the right-hand side.

- To add content to a learning module, click the plus icon (+) within the module, then click create. Note: Ultra only allows for three-level nesting.
- To edit an existing Learning module, click the three-dot menu on the top right corner.
IDT Tips for Learning Modules
- Use the drag-and-drop feature to reorganize content within a Learning module.
- Use the description box to explain what the module contains and why students should explore it.
- Select simple, meaningful images that help students quickly identify module topics.
- Avoid embedding text within Learning module images, as it reduces accessibility and may not display well on all devices.