Create a Document
Create a document (page) to present a combination of content including text, images, and videos.
Instructions
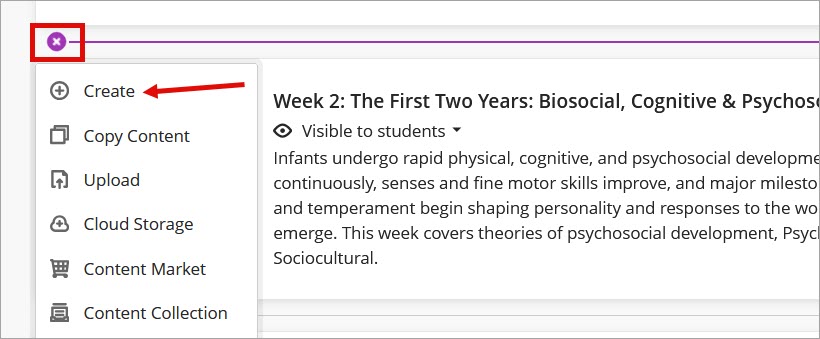
- Click Insert Content (+) at the location to add the document. From the menu, select Create to open the Create Item panel.
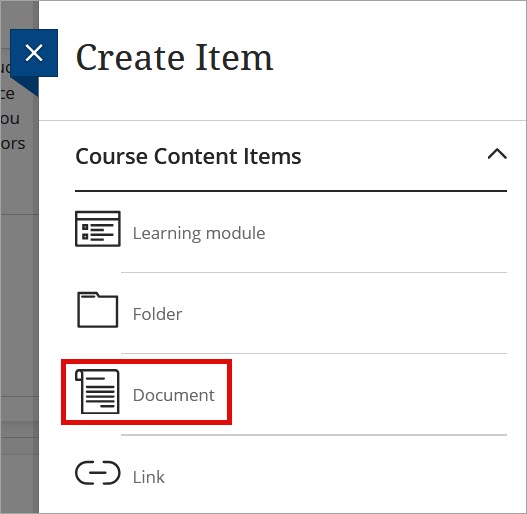
- Click Document.
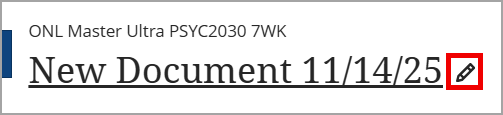
- Enter the page title.
- Select content type.

Content: Add and format on-screen text, attach files, images, videos, and hyperlinks.
Knowledge Check: Quickly test student comprehension of content by asking multiple-choice or multiple answer questions.
File Upload: Upload a file from your computer.
Image: Use the drop-down menu to choose your source and add an image.
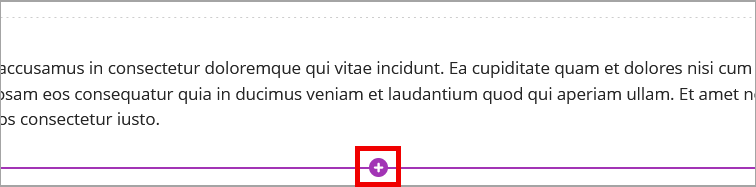
Convert a File: Upload a file and the system converts it to the document format. - Add additional content blocks by hovering above or below items and clicking the plus icon.
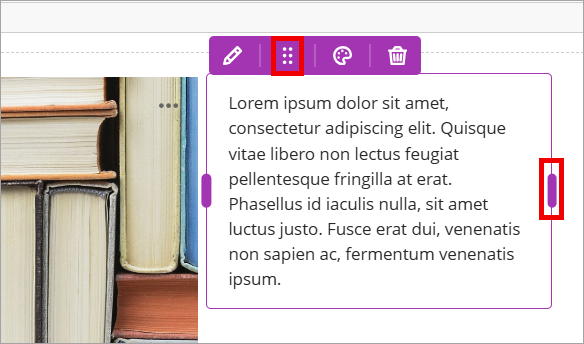
Note: Content blocks can be repositioned by resizing and dragging/dropping blocks into columns and rows.
To resize and move content blocks hover your cursor on the block to reveal its purple border and options. Drag the purple bar on the right side of the block to adjust the size. Drag the purple six-dot menu to move the block toward the empty space and drop as the empty space turns light purple.
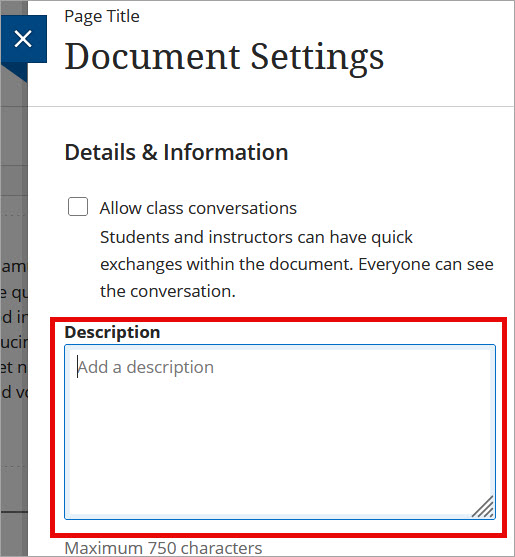
- Click the Settings gear icon to add a description that appears below the item title on the course homepage.
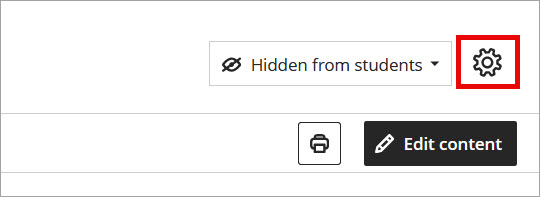
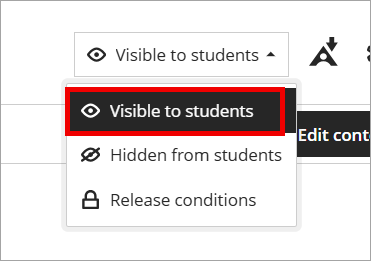
- Make the page Visible to students.
IDT Tips for Documents
- Use text styles (Titles, Headings, and Paragraphs) to create clear structure and improve readability.
- Organize content into brief, manageable sections to help reduce cognitive overload.
- Use built-in list tools, using numbers for steps in a sequence and bullets for related information.